
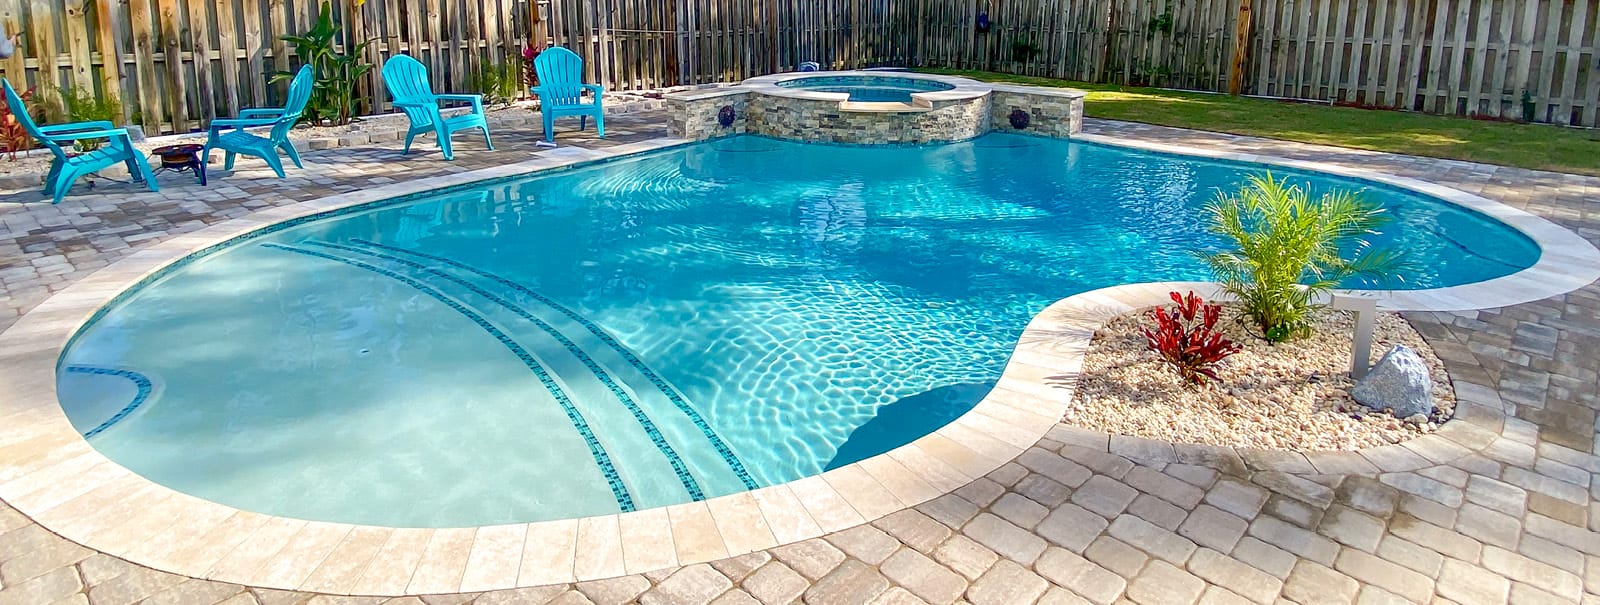

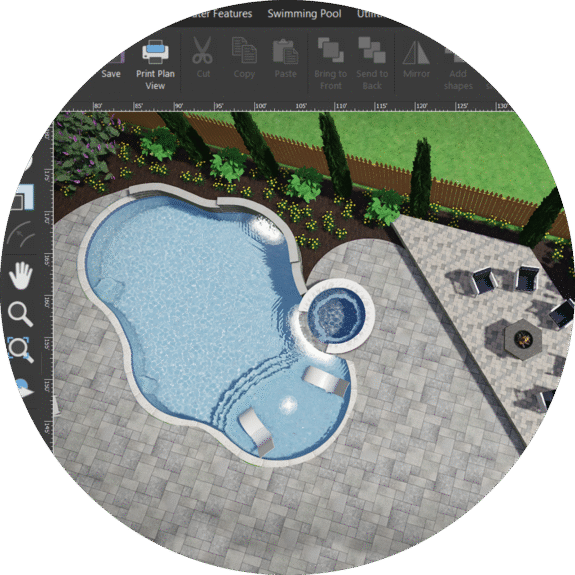


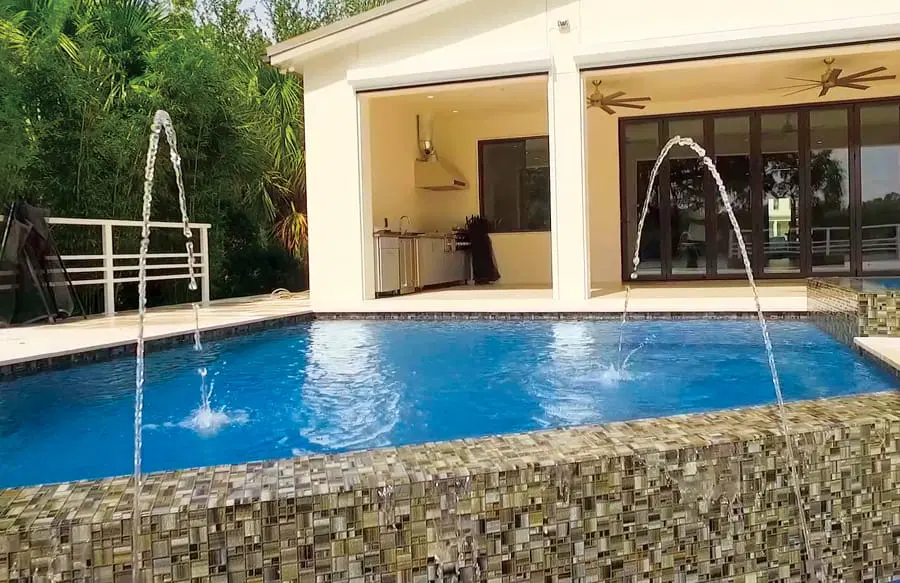
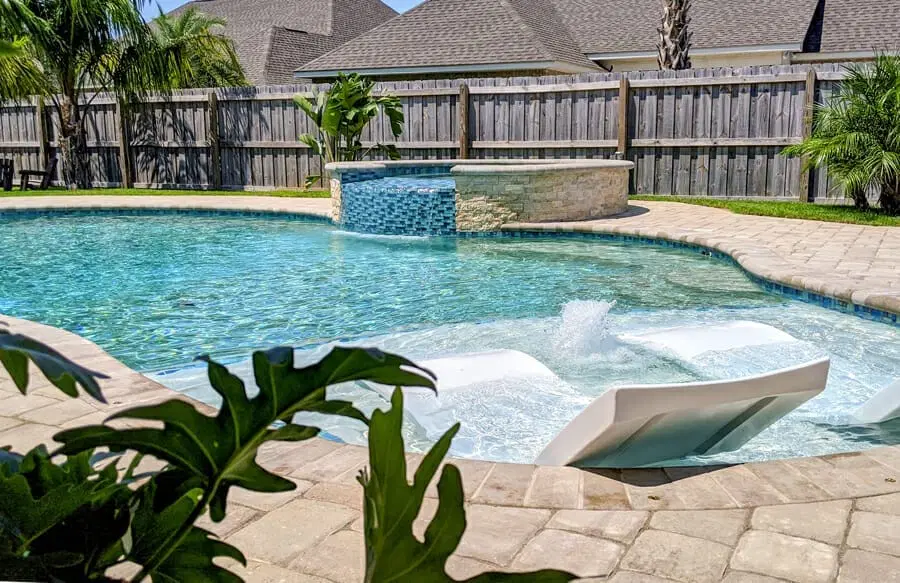
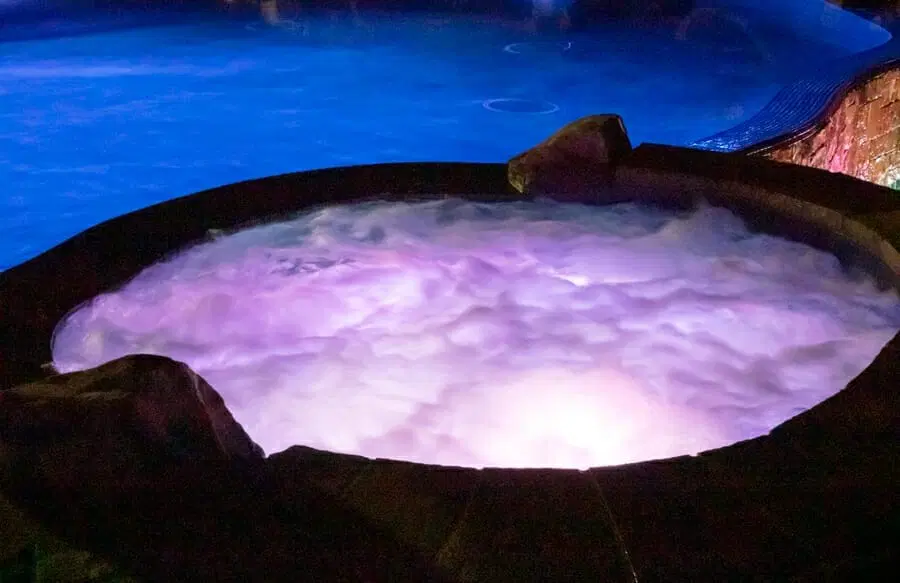
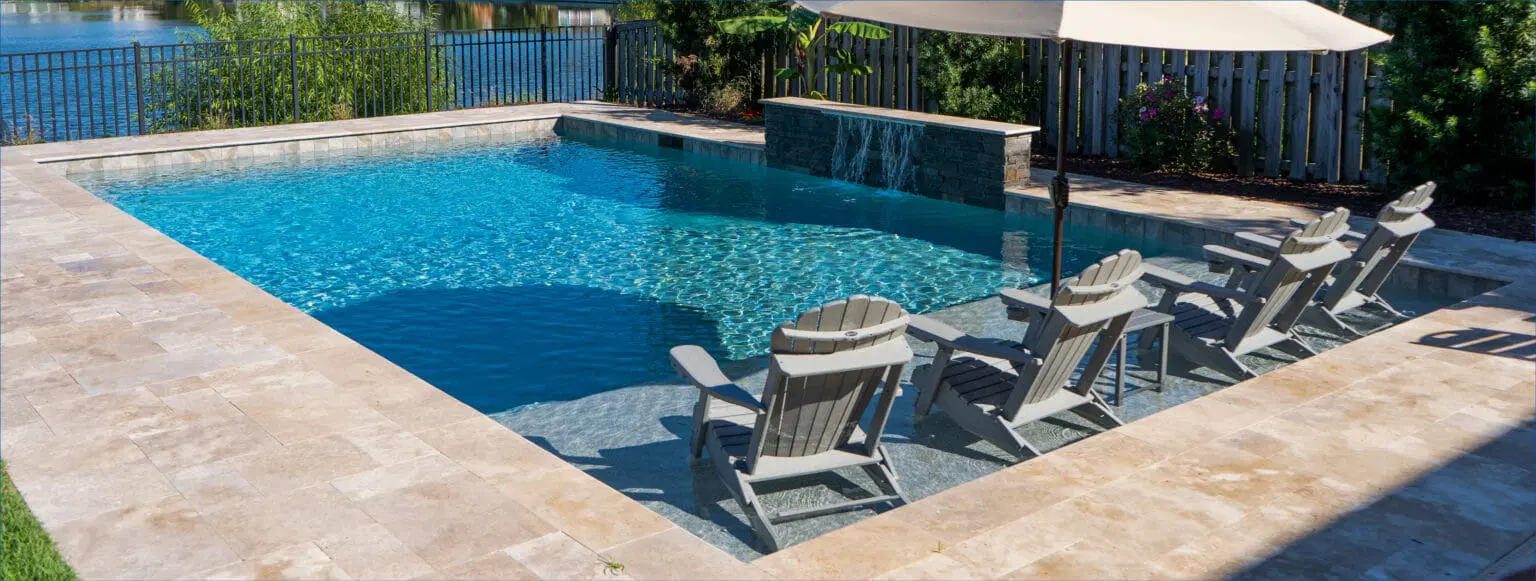

Check out some of our latest swimming pool designs!
More than

Our Gulf Coast Blue Haven team has built and remodeled
backyard retreats for thousands of families
Our Gunite Pool Construction Process
We want to ensure that every detail of your new backyard resort meets your expectations. That’s why we approach pool construction in the Gulf Coast with superb attention to detail at every step of the way. Here is a basic overview of the key phases in our typical process of building gunite pools in and near Daytona Beach.
Based on your property, local building requirements, and your pool’s design, materials, and features, this sequence may vary slightly.
Pre-construction1We finalize the design with your written approval, obtain building permits, and prepare the dig site.
EXCAVATION2Create the pool layout in your backyard. An excavator digs the pool, dump trucks haul away the dirt, and the access is cleaned up.
SHORT-PLUMB /
PRE-PLUMB3Run pipes for main drains, skimmer(s), returns, and—as applicable—spa jets, solar system, water features, and other outlets.
PRE-PLUMB3Run pipes for main drains, skimmer(s), returns, and—as applicable—spa jets, solar system, water features, and other outlets.
STEEL REINFORCEMENT4Install a network of reinforcing rebar per a certified, engineer-approved steel schedule.
BONDING5Licensed electrician bonds the light, the steel structure, and any other metal fixtures.
CONCRETE STRUCTURE6Shoot concrete through a high-pressure hose to form a monolithic pool shell, including steps, benches, and any spa, tanning ledges, or other integrated features.
DECK LAYOUT7Remove any sod or plant cover. Create a layout on the site, and grade the earth so it is level and the deck can be installed at the intended elevation.
FINAL PLUMBING8Install the pump, filter, and any other equipment, and run underground plumbing lines between equipment and pool.
ELECTRICAL WIRING9Run main electrical line from house panel to equipment pad.
Complete installation of the control panel, switches, lights, and any other electrical components.
Complete installation of the control panel, switches, lights, and any other electrical components.
TILE & COPING10Apply tile around the entire pool & spa waterline.
Install coping material along the pool & spa perimeter.
Install coping material along the pool & spa perimeter.
HARDSCAPE11Concrete deck: Install deck forms, and pour and finish the material.
Paver Deck: Lay down sand base, and set pavers.
—Build any special features, such as fire pits or sitting walls.
Paver Deck: Lay down sand base, and set pavers.
—Build any special features, such as fire pits or sitting walls.
PLASTER &
WATER FILL12Apply a smooth interior finish to waterproof the concrete shell.
Upon completion, begin filling your pool with water.
WATER FILL12Apply a smooth interior finish to waterproof the concrete shell.
Upon completion, begin filling your pool with water.
STARTUP & ORIENTATION13Technician activates the pool equipment, and shows you how to operate your new aquatic retreat and all of its features!